1. Introduction
Fiber optic connectors play a crucial role in ensuring low‑loss, stable, and high‑performance optical transmission. Among the various connector types, SC UPC connectors (Subscriber Connector with Ultra Physical Contact polishing) remain the backbone of modern data centers, telecom networks, and enterprise infrastructure.
While the SC connector’s push‑pull mechanism makes it mechanically simple, achieving the optical performance required for single‑mode and high‑speed networks depends heavily on how well the ferrule end‑face is polished and tested.
This guide provides a comprehensive overview of:
- What SC UPC connectors are
- How the UPC polishing process works
- Step‑by‑step polishing procedures
- Required tools, materials, and environmental conditions
- Testing methods (interferometry, IL/RL measurement, visual inspection)
- Typical industry‑standard pass/fail criteria
- Troubleshooting polishing defects
If you work in fiber manufacturing, cable assembly, or field termination, this guide will help you achieve consistent, high‑performance UPC finishes every time.

2. What Is an SC UPC Connector?
2.1 SC Connector Overview
The SC connector is a widely used fiber optic connector type known for its:
- Square housing
- Push‑pull latch mechanism
- 2.5 mm zirconia ceramic ferrule
- High durability and repeatability
SC connectors are commonly used in:
- Data centers
- Optical distribution frames (ODF)
- Telecom backbone systems
- Enterprise FTTO networks
- Testing and lab environments
2.2 UPC — Ultra Physical Contact
UPC refers to a high‑precision polishing method where the ferrule end‑face is crafted into a super‑smooth, slightly convex geometry. Compared with the older PC (Physical Contact) connectors, UPC polishing achieves:
- Lower return loss (typically −50 dB to −55 dB)
- Lower insertion loss (0.2 dB–0.3 dB typical)
- Better long‑term performance in repeated mating cycles
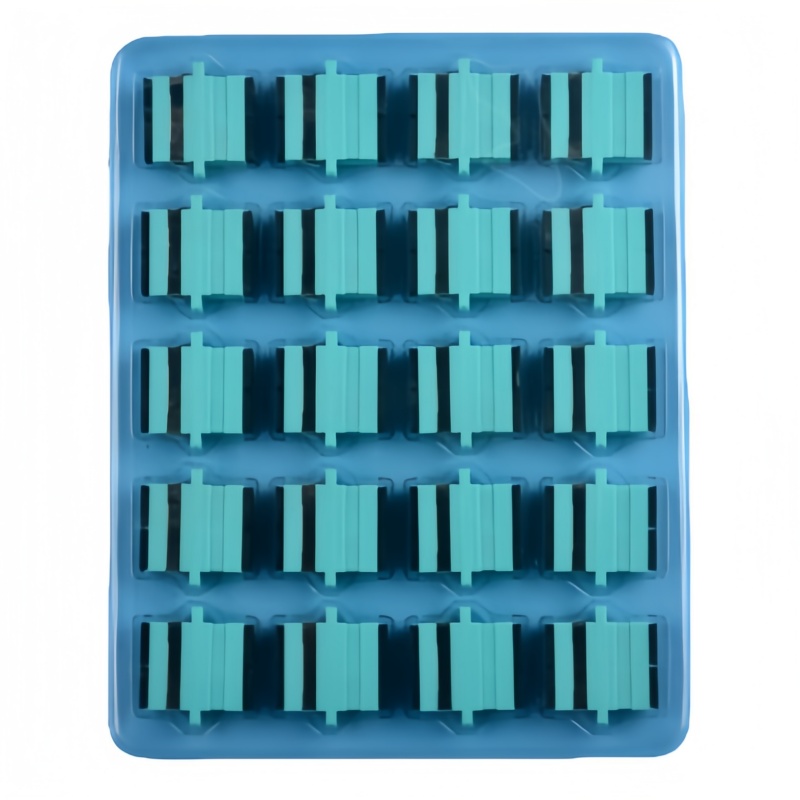
UPC connectors are color‑coded blue, making them easy to identify.
3. Why Polishing Quality Matters in SC UPC Connectors
UPC is designed to create an ultra‑smooth contact surface that reduces back‑reflection. The smoother and more precise the ferrule end‑face is, the:
- Lower the reflection
- Lower the insertion loss
- Less wear and degradation during repeated use
- More stable the optical performance over time
A poorly polished connector can lead to:
- High return loss
- High insertion loss
- Increased attenuation
- VCSEL/laser performance degradation
- Network instability
- Difficulty mating with other connectors
Effective polishing is essential for passing industry‑standard tests and ensuring long‑term reliability.
4. Tools and Materials Required for SC UPC Polishing
4.1 Polishing Machine Components
Most polishing labs use:
- Programmable polishing machines
- Glass platens
- Pressure fixtures (for SC connector holders)
- Polishing weights
4.2 Polishing Films (Abrasive Films)
UPC polishing typically uses a sequence of films:
| Polishing Step | Film Type | Typical Grit |
|---|---|---|
| Initial Lapping | Diamond | 9 µm |
| Secondary Lapping | Diamond | 3 µm |
| Fine Polishing | Diamond | 1 µm |
| Final Polishing | Final UPC film | 0.02–0.05 µm |
4.3 Cleaning Materials
Cleanliness is critical.
- Isopropyl alcohol (≥99% recommended)
- Lint‑free wipes
- Deionized water
- Fiber inspection scope
4.4 Other Required Tools
- Crimping tools
- Kevlar scissors
- Oven and curing jigs (for epoxy‑based terminations)
- Safety equipment
In high‑volume production, automated fiber termination lines integrate polishing, curing, and inspection for consistency.
5. SC UPC Polishing Geometry Standards
UPC connectors must meet specific geometry parameters defined by IEC 61755, Telcordia GR‑326‑CORE, and IEC 61300 testing standards.
Table 1 — SC UPC Ferrule Geometry Parameters
| Parameter | Typical Requirement | Description |
|---|---|---|
| Radius of Curvature | 7–25 mm | Determines the smooth convexity of ferrule surface |
| Apex Offset | ≤ 50 µm | Ensures end‑face is centered for proper mating |
| Fiber Height | +50 nm (range: −50 to +100 nm) | Fiber should protrude slightly above epoxy |
| End‑Face Angle | < 0.3° | Ensures flatness and consistent contact |
These parameters directly affect:
- Return Loss
- Insertion Loss
- End‑face wear characteristics
- Connector longevity
6. Step‑by‑Step SC UPC Polishing Process
The polishing process can vary slightly based on equipment, but the following is a standard workflow used in professional fiber assembly factories.
STEP 1: Ferrule Preparation and Fiber Epoxy Bonding
- Insert the fiber into the zirconia ferrule
- Apply epoxy
- Cure the epoxy in a controlled oven
- Cleave excess fiber flush with the ferrule
Proper curing prevents cracks and ensures strong adhesion between fiber and ferrule.
STEP 2: Initial Lapping (Coarse Polishing)
- Use 9 µm diamond film
- Apply medium‑high pressure
- Purpose:
- Remove epoxy residue
- Shape initial geometry
- Bring fiber flush with ferrule
Expected outcome:
- Flat end‑face
- No visible scratches under basic inspection
STEP 3: Secondary Lapping
- Use 3 µm diamond film
- Purpose:
- Refine surface
- Correct coarse‑polish scratches
- Begin creating smoother geometry
This step dramatically reduces the number of deep scratches.
STEP 4: Fine Polishing
- Use 1 µm diamond film
- Light pressure
- Purpose:
- Remove mid‑level scratches
- Bring end‑face closer to final UPC smoothness
The end‑face should already show minimal imperfections.
STEP 5: Final UPC Polishing
This is the most important stage.
- Use ultra‑fine UPC polishing film (0.02–0.05 µm)
- Very light pressure
- Short time (10–30 seconds depending on machine)
Goal:
- Achieve mirror‑smooth finish
- Meet return loss targets (≥ −50 dB)
- Achieve proper fiber protrusion (height)
STEP 6: Cleaning and Drying
- Clean with IPA and lint‑free wipes
- Inspect under scope
- Verify no contamination from polishing debris
Cleanliness directly affects test results.
STEP 7: Connector Testing (IL/RL + Geometry Inspection)
Final QC includes:
- Interferometry
- Insertion loss (IL) measurement
- Return loss (RL) measurement
- Visual end‑face inspection
More on testing is provided below.
7. SC UPC Testing Methods and Standards
To ensure SC UPC connectors meet telecom and data center requirements, they undergo a range of performance tests.
7.1 End-Face Interferometer Testing (Geometry Inspection)
An interferometer measures:
- Radius of curvature
- Apex offset
- Fiber height
- Spherical geometry
It provides a 3D map of the ferrule end‑face.
Industry standards:
- IEC 61755-3-1
- Telcordia GR‑326‑CORE
Most factories require:
- Pass geometry before functional testing
7.2 Visual Inspection (Microscopic)
Using:
- 200×–400× video microscope
- Standard inspection per IEC 61300-3-35
Technicians check for:
- Scratches (zones A/B/C)
- Pits
- Chips
- Cracks
- Debris contamination
- Fiber edge chipping
UPC connectors must have:
- No scratches in the core region
- Minimal defects in cladding zone
7.3 Insertion Loss (IL) Testing
IL measures signal power loss.
Standard method: IEC 61300-3-4
Target values:
- Typical: 0.2–0.3 dB
- Max allowed: 0.5 dB
IL is influenced by:
- End‑face cleanliness
- Fiber protrusion
- Misalignment
- Ferrule concentricity
7.4 Return Loss (RL) Testing
Return loss (back reflection) is critical for UPC connectors.
Standard method: IEC 61300-3-6
- Typical RL for UPC: ≥ −50 dB
- Premium UPC: ≥ −55 dB
Higher (more negative) numbers mean better performance.
APC connectors achieve even better RL (−60 to −70 dB), but UPC is the standard for most data centers.
8. Common Polishing Defects and Solutions
Even with experience, polishing defects occur. Here are the most common issues.
Table 2 — Common SC UPC End‑Face Defects (Causes & Fixes)
| Defect | Cause | Solution |
|---|---|---|
| Scratches | Dirty film or platen; insufficient cleaning | Clean thoroughly; replace films |
| Debris | Poor cleaning; polishing residue | Re‑clean with IPA + lint‑free wipes |
| Pits/craters | Excess pressure during polishing | Reduce pressure; inspect platen |
| Fiber undercut | Over‑polishing in final step | Reduce polishing duration |
| Fiber protrusion too high | Incorrect film sequence | Verify correct diamond grit order |
| Epoxy residue | Insufficient coarse polish | Increase time on 9 µm film |
| Edge chipping | Improper cleaving | Improve cleave technique; use better tools |
9. SC UPC vs SC APC Polishing: What’s Different?
Though the initial steps are similar, final polishing differs significantly.
Table 3 — UPC vs APC Polishing Differences
| Parameter | UPC | APC |
|---|---|---|
| End‑Face Shape | Spherical convex | 8° angled end-face |
| Return Loss | −50 to −55 dB | −60 to −70 dB |
| Film Sequence | 9 µm → 3 µm → 1 µm → UPC film | 9 µm → 3 µm → 1 µm → APC film |
| Connector Color | Blue | Green |
| Applications | Data centers, telecom | FTTH, RF overlay, PON |
Note: UPC and APC connectors must not be mated, as this can cause excessive reflection and physical damage.
10. Environmental and Process Control for High‑Quality Polishing
Professional fiber termination labs maintain strict control over their polishing environment.
Required Conditions:
- Clean room or dust‑controlled environment
- Temperature: ~20–25°C
- Humidity: 40–60%
- Anti‑static precautions
- Regular tool calibration
- Clean benches and polishing pads
Every contaminant impacts polishing quality.
11. Production Workflow in a Fiber Assembly Factory
In high‑volume settings, polishing stations follow a streamlined workflow:
- Fiber preparation
- Epoxy injection
- Ferrule bonding
- Curing
- Cleaving
- Polishing (multi‑step)
- Interferometer testing
- IL/RL measurement
- Cleaning
- Packaging
Large-scale manufacturers often automate:
- Pressure control
- Film usage tracking
- End‑face inspection
- Batch QC records
12. Field Polishing vs Factory Polishing
Factory polishing:
- Uses precision machines
- Achieves highest quality
- Best return loss performance
- Meets international standards
Field polishing:
- Used for emergency or small installations
- Manual tools
- Higher IL
- Not suitable for high‑performance SM networks
Most installers now use pre‑terminated or pre‑polished connectors instead of field‑polished SC UPC connectors.
13. Tips for Achieving Perfect SC UPC Polishing
- Always clean ferrule and fixtures before each polishing step
- Maintain polishing film cleanliness
- Use proper downward pressure
- Replace films periodically to avoid surface contamination
- Inspect after every major polishing stage
- Keep polishing equipment calibrated
- Do not reuse dirty cleaning cloths
- Ensure epoxy is fully cured before polishing
Consistency is key.
Professional FAQ: SC UPC Connector Polishing and Testing
Q1: Why does SC UPC require multiple polishing steps?
Each polishing film removes different scratch depths.
UPC finish requires ultra‑smooth surfaces achievable only with fine sequential abrasives.
Q2: What return loss should a high‑quality SC UPC connector achieve?
A properly polished SC UPC connector typically achieves:
- −50 dB to −55 dB
Premium connectors may reach −58 dB.
Q3: Can SC UPC and SC APC mate together?
No.
Mating them causes:
- High reflection
- Potential ferrule damage
- Increased insertion loss
- Failed network performance
Q4: Why does the end‑face need a convex radius?
The convex radius ensures:
- Consistent physical contact
- Optimal fiber alignment
- Low reflectance
- Reduced wear during repetitive mating
Q5: What is the most common polishing defect?
Scratches caused by:
- Dirty polishing films
- Contaminated ferrules
- Poor cleaning practices
Routine cleaning prevents 80% of polishing problems.
Q6: Do all SC UPC connectors need interferometer testing?
For professional applications (data centers, telecom, manufacturing), yes.
Interferometry ensures the connector meets geometry standards essential for reliable performance.
Q7: How long does it take to polish SC UPC connectors in a factory?
Typical polishing time:
- 30–90 seconds for full UPC sequence
- Multi‑fiber batches reduce per‑connector time
High‑volume stations may polish tens of thousands per day.